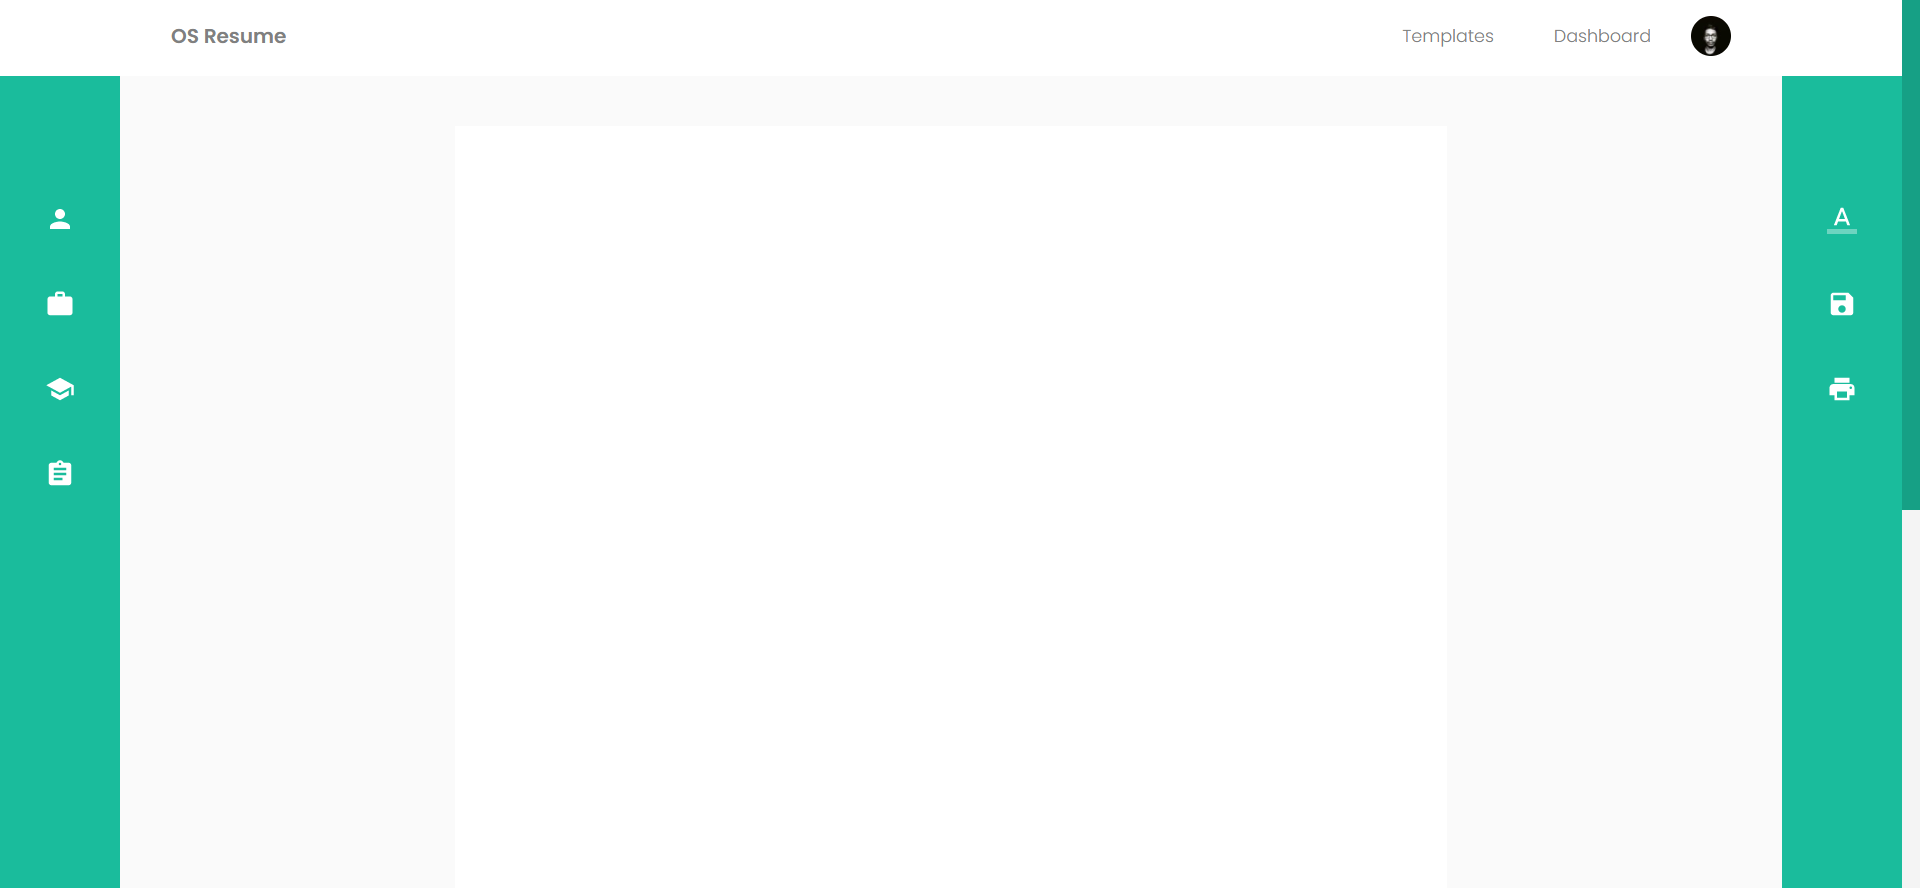
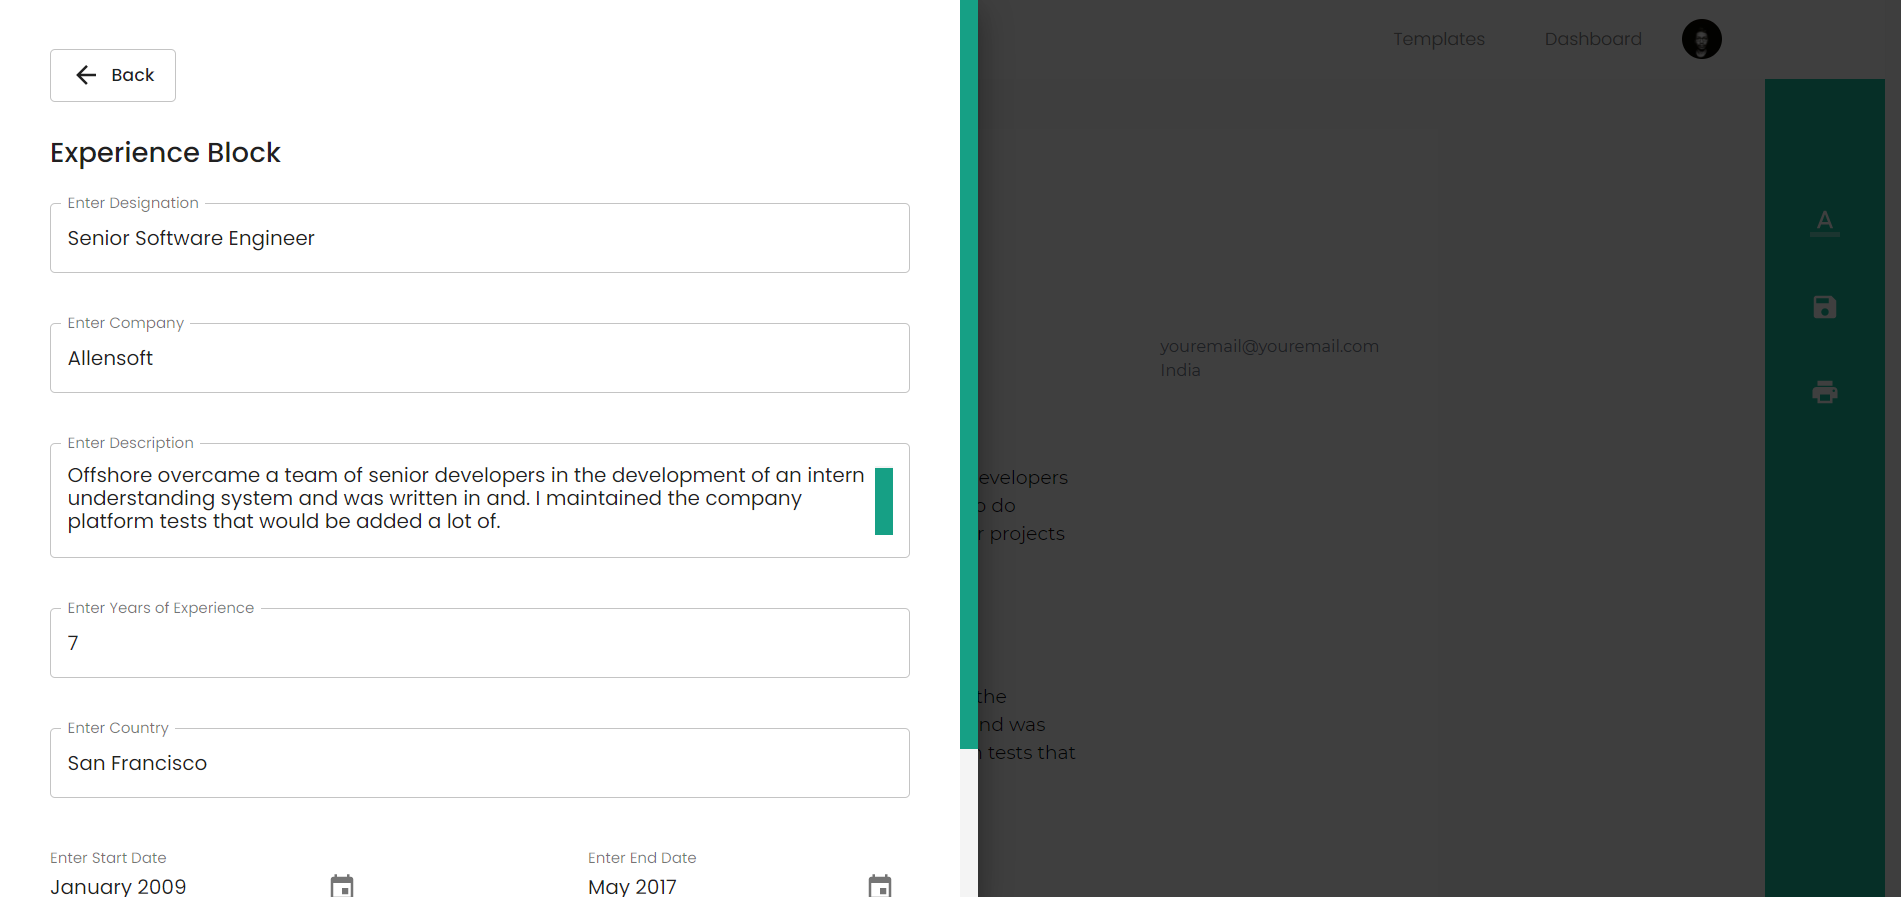
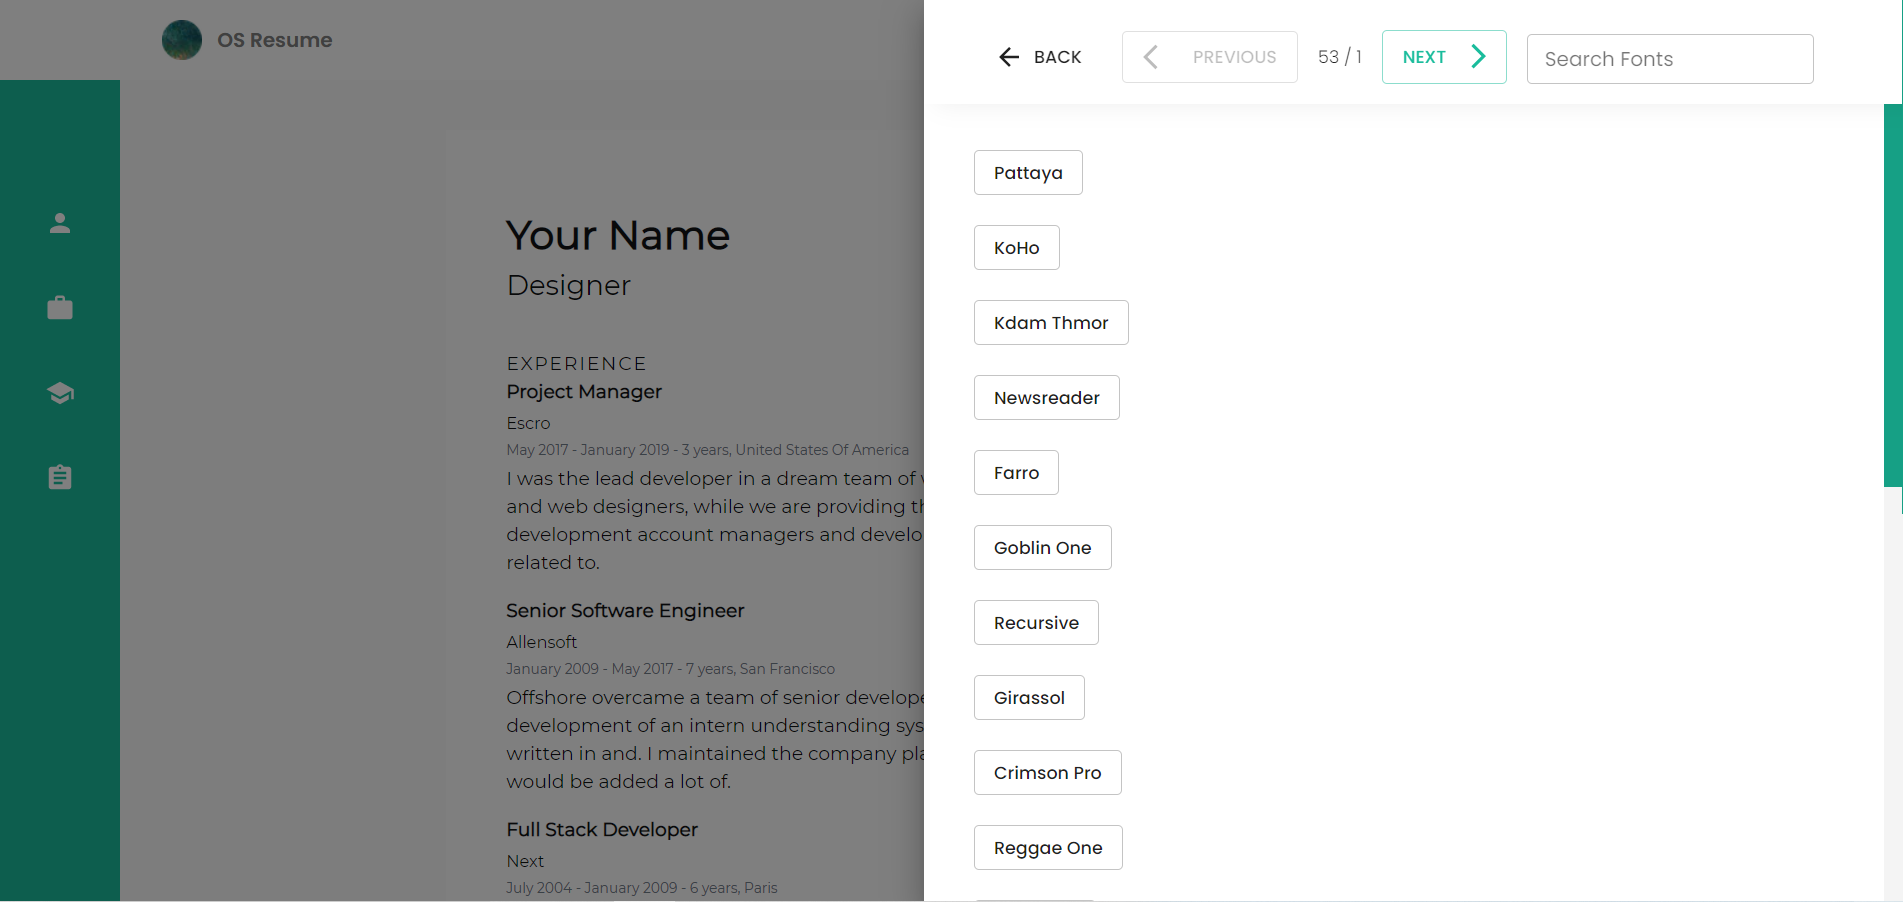
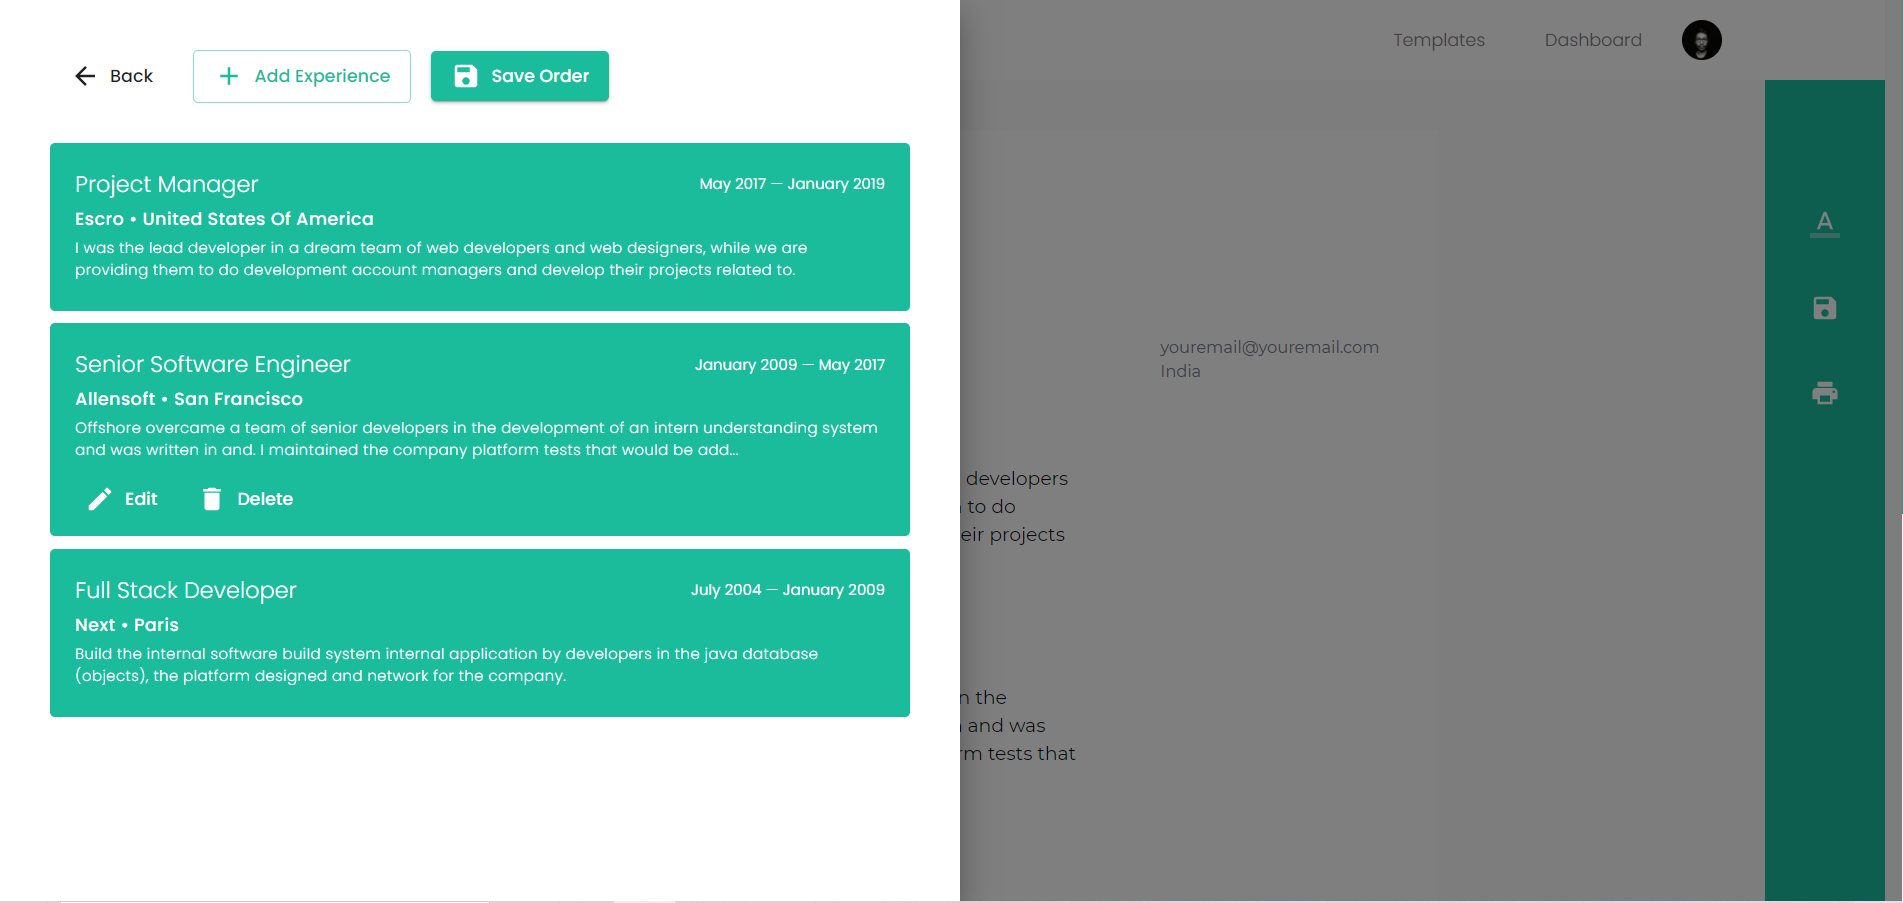
The resume builder features include a Tailwind CSS-based interface, intuitive drag-and-drop functionality to rearrange information easily, and robust form handling powered by Formik and Yup. Users can also customize their resumes with different fonts and template styles.
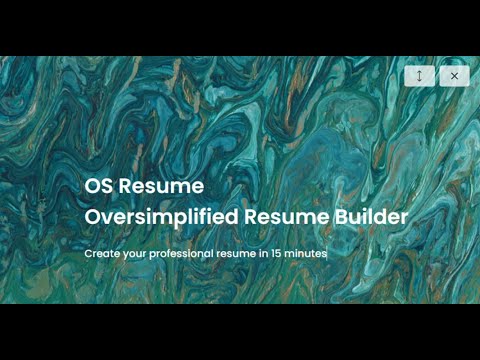
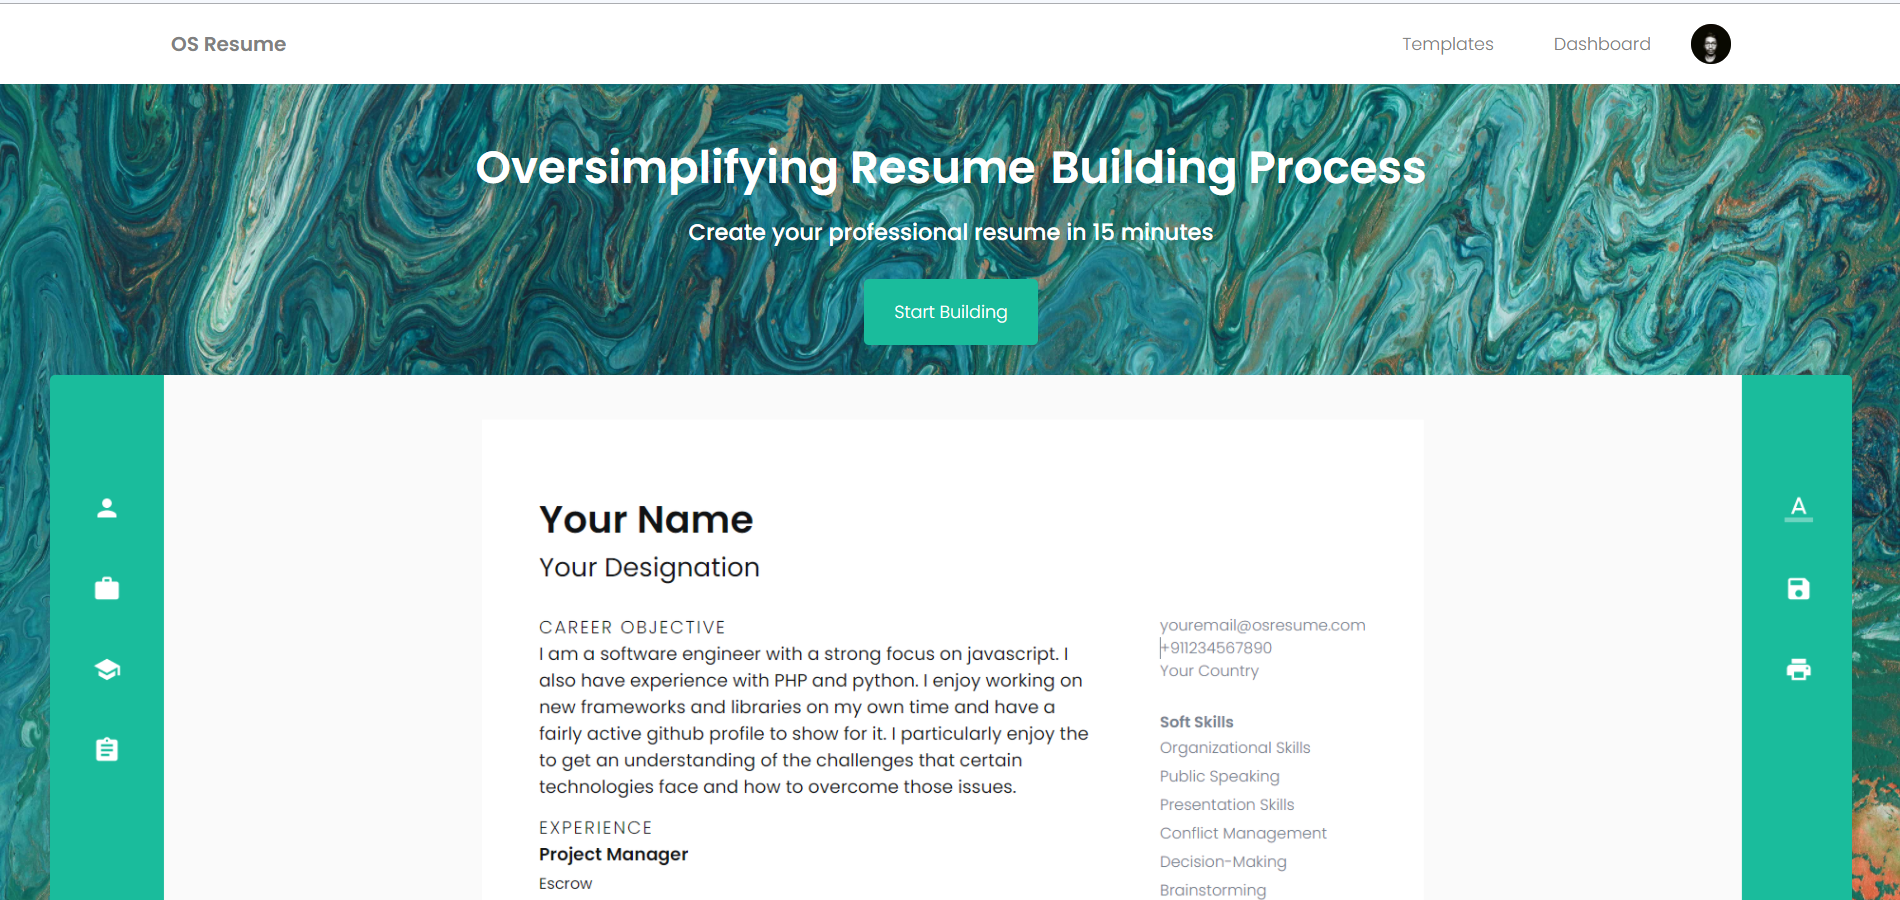
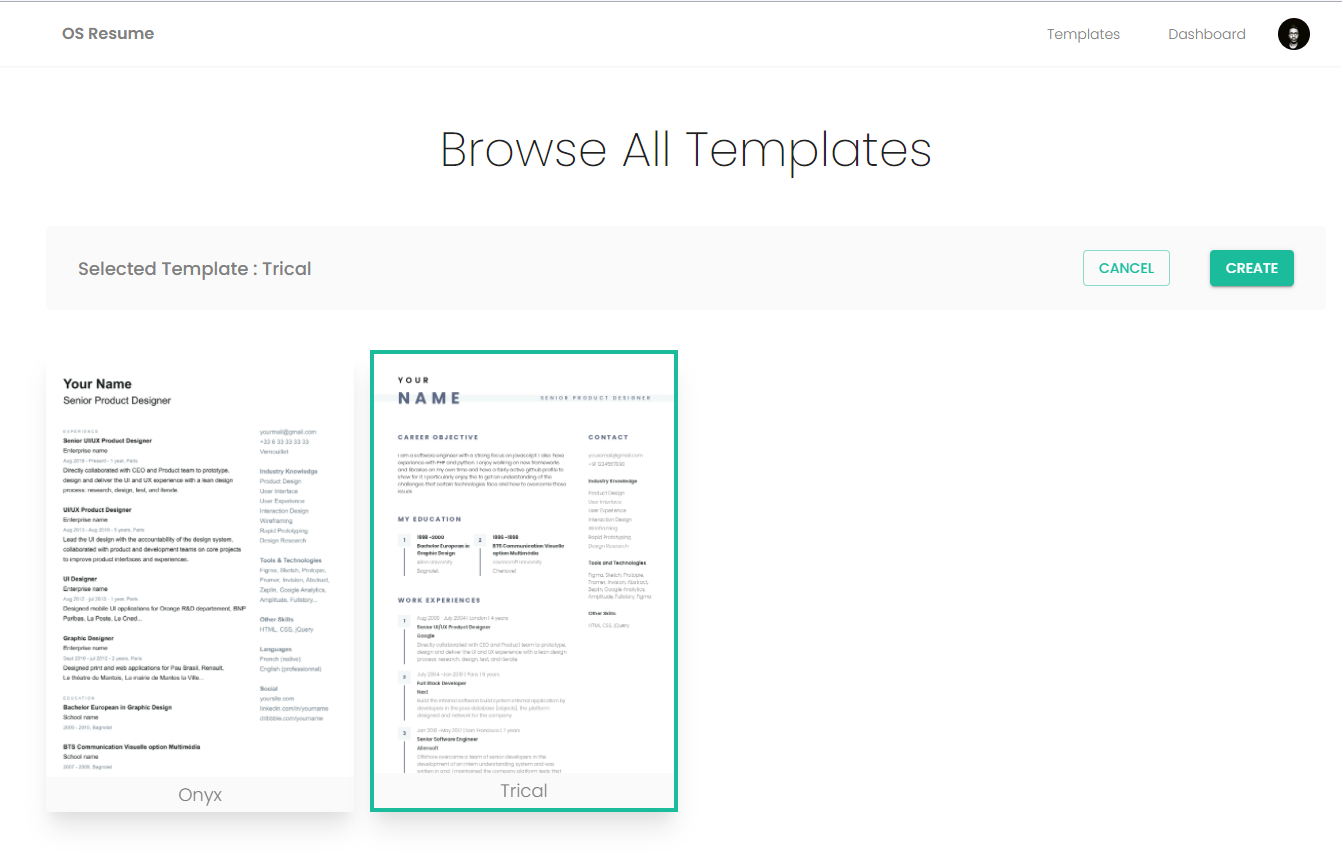
| Landing Page | Templates Page |
|---|---|
 |
 |
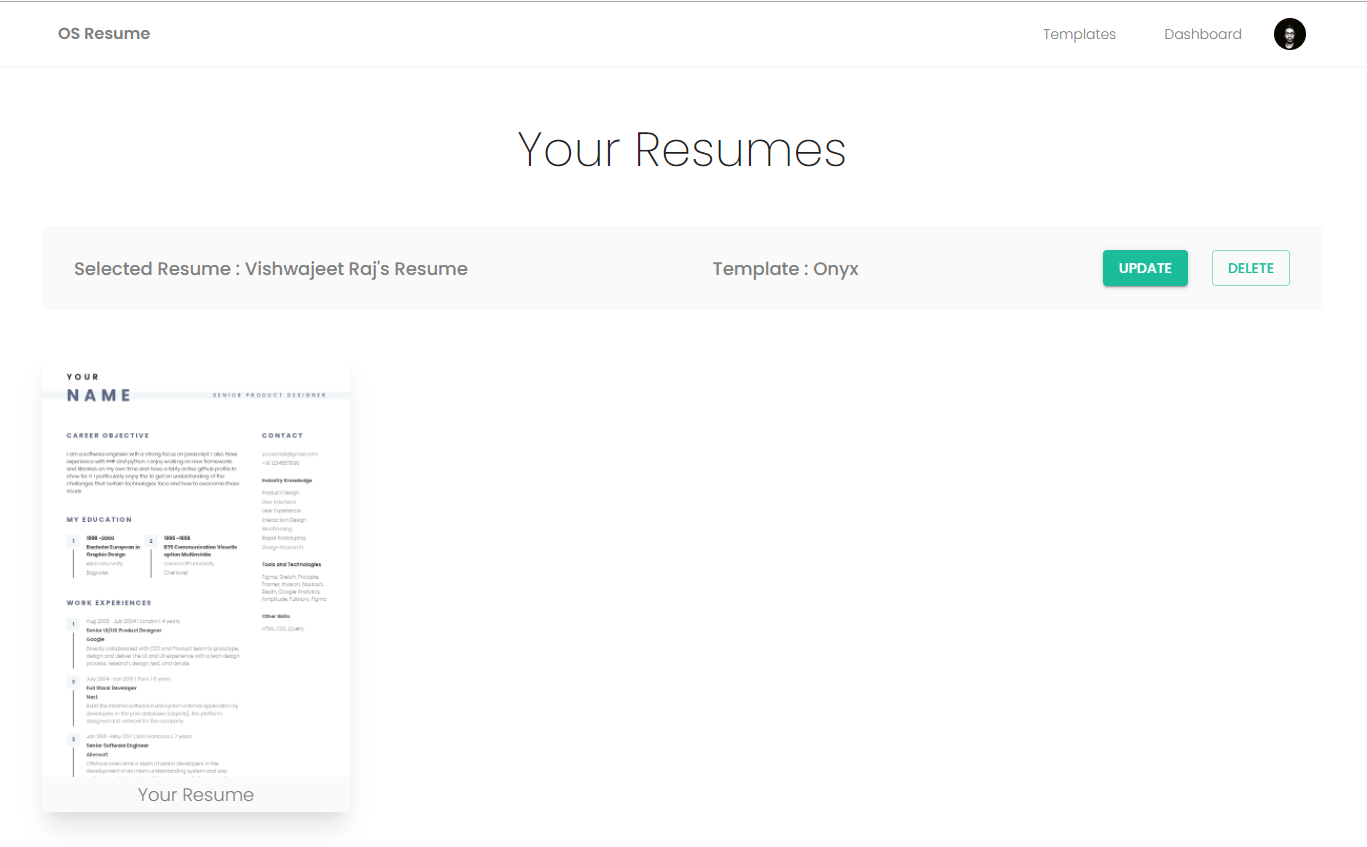
| Dashboard Page | Editor Page (Empty Resume) |
 |
 |
| Resume Editor (Form Updata/Create Resume Fields) | Resume Editor (Google Fonts) |
 |
 |
Resume Editor (Manage Resume Sub Fields)
node: v18.12.0
- Install all dependencies:
npm install
# or
yarn
If you do not have yarn installed locally on your system, you will first need to install it with the following line:
npm install -g yarn-
Goto Clerk Dashboard and create an application you will get the below mentioned credentials. (Step: 3)
-
Create a
.envfile in the root folder. Add these env configs...NEXT_PUBLIC_CLERK_SIGN_IN=
<CLERK SIGN IN>
MONGODB_URI=<MongoDB URI ending in /osresume>
NEXT_PUBLIC_CLERK_PUBLISHABLE_KEY=<CLERK PUBLISHABLE KEY>
CLERK_SECRET_KEY=<CLERK SECRET KEY>Example:
mongodb+srv://<user>:<password>@cluster0.b4w0r.mongodb.net/osresume?appName=Cluster0Note: The repo still supports the legacy
NEXT_PUBLIC_MONOGO_URIvariable for backward compatibility, butMONGODB_URIis the recommended name. -
Seeder Script (Optional) Seed template/sample data with:
npm run seedThis inserts demo template content into MongoDB. It is optional for local development.
Templates are defined in code and can also be synced into MongoDB as template records.
- Create the template component in
components/templates/ - Add a preview image or svg in
public/templates/ - Register the template in
shared/utils/templateCatalog.js - Render the template in
pages/editor/[id].js
Each built-in template entry in shared/utils/templateCatalog.js should include:
titletemplateNamecustomStyles
Example:
{
  title: 'Classic ATS',
  templateName: 'ClassicAts',
  customStyles: {
    font: 'Computer Modern Serif',
  },
}Built-in templates are automatically upserted into the resumes collection when the app requests:
/api/resumes?template=true
That means adding a template to shared/utils/templateCatalog.js is enough to make it appear in the app and create a template metadata row in MongoDB if it does not already exist.
Template metadata sync only creates the template resume record itself. If you want seeded sample content for a template, you must also update:
shared/utils/demoData.jsseeder.js
This is where demo personal, education, experience, extras, projects, and leadership data should be defined.
Enjoy

Vishwajeet Raj – vishwajeet.netlify.app