- Download the latest OpenCore Package and unzip it
- Inside the OpenCore folder you will find
/Utilities/disklabel - Run Terminal
- Enter
cdand hit Space - Drag the "disklabel" folder into the terminal window and hit Enter to change to this directory.
- Next, enter the following command (replace the text in the quotes
""):sudo ./disklabel -e "YOUR DISK LABEL" .disk_label .disk_label_2x - Hit Enter again
The disk label files will be stored in the "disklabel" folder but they are hidden.
- In Finder, press CMDShift. to reveal hidden files:
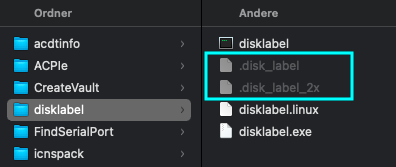
- Copy
.disk_labeland.disk_label_x2 - Mount the EFI containing the "Microsoft" Folder
- Paste/Move the disk label files into the
Microsoft/Bootfolder. It should look like this:
- Press CMDShift. again to mask the hidden files.
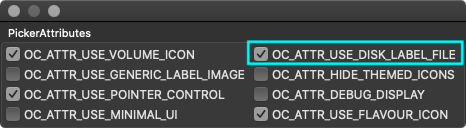
The disk labels are now in the correct location but to be displayed, the PickerAttributes have to be adjusted…
- Open your config.plist with OCAT
- Go to
Misc/PickerAttributesand click on "Select" (or just add 2 to the current value) - Check box "OC_ATTR_USE_DISK_LABEL_FILE":
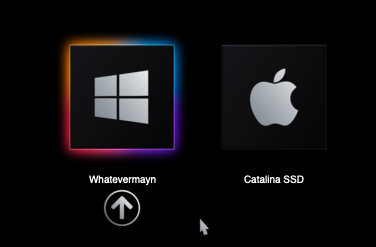
- Save the config and reboot
- The new disk label should be applied:
Cobanramo for the guide